Wednesday, June 28, 2017

I Might Be...

I might be quilting on a 2+ year old project.
At this point it is going quite well.  I am loving the hand dyed fabrics in this section.

Don't forget this offer. 1 Month + 1 Class For Just $1 on CreativeBug.  Read what I wrote about it here.
Comments are welcomed. I will reply when possible unless otherwise stated. Of course if you are a "No Reply Blogger"- I can not reply. Links in posts may be affiliate links for which I am compensated if you click through and purchase.

Tuesday, June 27, 2017

A Different Option

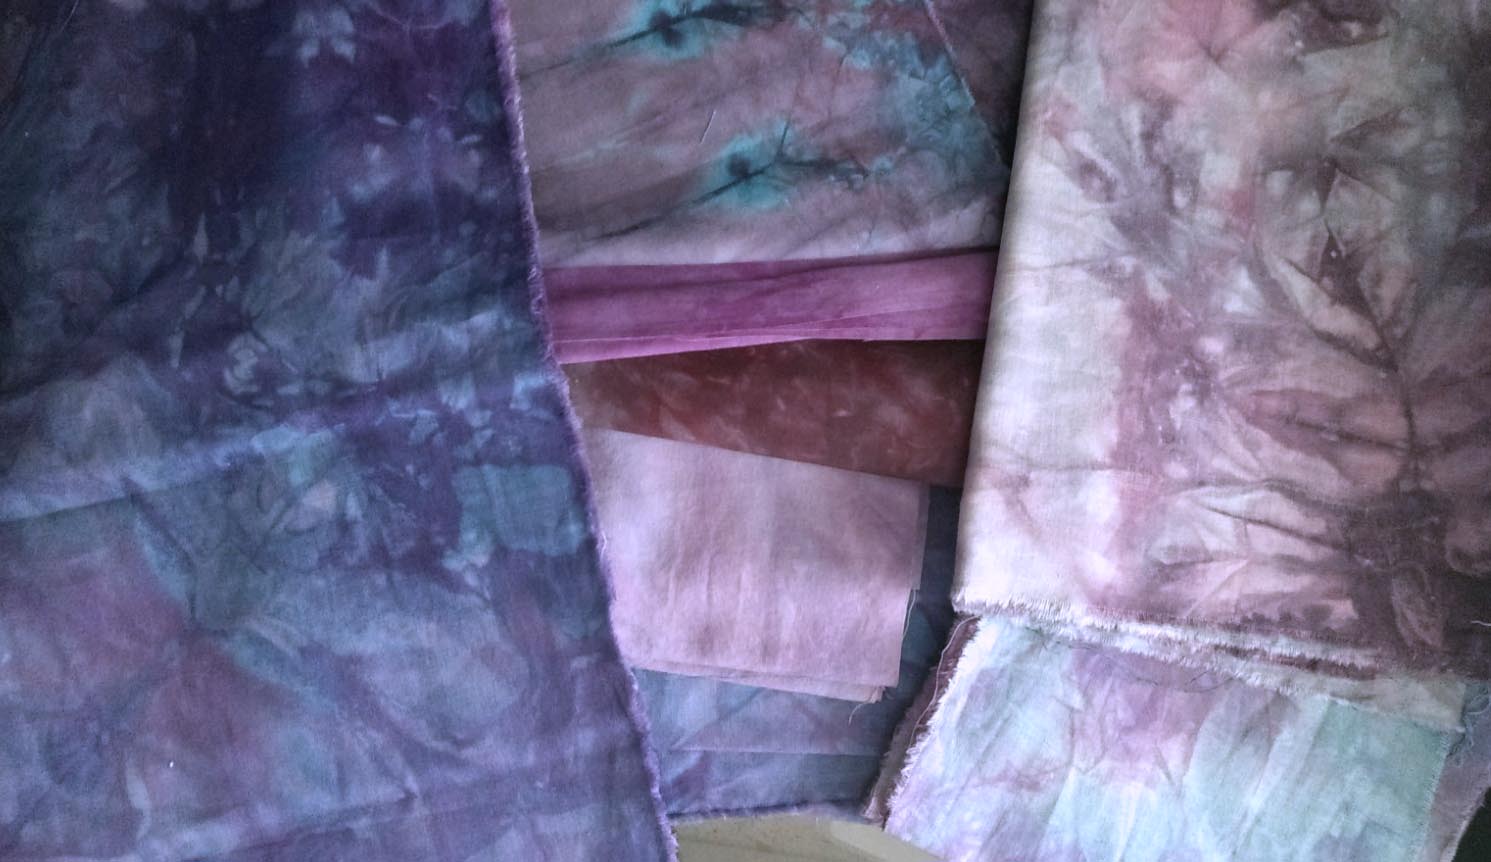
A few days ago I shared how I mended the knee of my jeans.  For some time it had been "under consideration" but I was hesitant as I don't generally do hand sewing.

Then an offer came to me - I could take a month of classes on CreativeBug for only one dollar.  If I decided to continue, I could pay $4.95 monthly for however long I wished to take classes.  For that one dollar to start, I also get a credit to spend on a class that I can keep forever in my CreativeBug library.  As far as I can tell, you could watch every class on CreativeBug during a month if time permits.  But you can only choose one to keep in your library, for that credit.  So far I have watched a LOT of classes.

 I am happy that I can offer the same deal to you.  If you are interested, just click on the banner ad below.


Now, about those jeans,  one of the first classes I watched was on the physics of hand sewing in a class by Natalie Chanin of Alabama Chanin.  I was fascinated by her calm but precise manner of teaching exactly how the clothing is made in her studio.  (and if you don't know, those clothes are very expensive.)  There are six other classes that she teaches too.
There are also classes on Art Journaling, Watercolor Painting, Quilting, Knitting, Crochet and more.

Another class that I watched and found particularly inspiring is called Intuitive Painting.  It is a three part class (thus it requires three credits to add the full class to your library - but there is also the option to purchase a class outright.)  As an artist who paints in a non-objective manner much of the time,  this class spoke to my heart.  I am sure I will watch it again.
But for there are also painting classes on landscapes and florals and even painting a portrait of your pet.

I love the fact that I can watch portions of the class and decide if I want to take the entire class, or decide that "Okay, this isn't for me."

I hope some of you give CreativeBug a try.  And if you do, please click through from the link on this post as it provides me with a small stipend and allows me to keep trying new classes.

Cheers!
Comments are welcomed. I will reply when possible unless otherwise stated. Of course if you are a "No Reply Blogger"- I can not reply. Links in posts may be affiliate links for which I am compensated if you click through and purchase.

Sunday, June 25, 2017

Reviving a Neglected Project

After quite some time, (yikes!  over two years.....)  I have pulled out this project and made the final eight blocks for the quilt.  In the other sections I have both "Anita's Arrowhead" and "Old Italian" blocks.  For the bottom section, I decided to play fast and loose with the design and make eight "Old Italian" blocks for the finish.
Two of the blocks are unique and  different from the other six.  Some of you are quilters and will see it pretty quickly. I decided that I would use the mantra "Finished is better than Perfect." Because seriously, when have I ever made a perfect quilt - or anything for that matter?  Perfectly Imperfect is my style and I am happy that way.
I used several hand dyed fabrics in these blocks.  You may notice that the blocks are a "Night and Day" type in that they are made two at a time so you have the same colors in opposite places.  I used only two batik fabrics with the dyed fabrics.  Three of the fabrics are ones that I dyed.  The other two are hand-dyed by Vicki Welsh.  I love Vicki's fabrics. The two that she dyed are the dark turquoise and the medium purple with bits of blue in it (center and lower right blocks.)
My dyed fabrics are from the last dyeing that I did with "old" dye solution that came out paler than expected.  They made great semi-neutrals for these blocks.  Now I see that I need to purposefully dye some lighter toned fabrics.   That "failure" in dyeing was actually a great success!
Now, I need to piece the last two sections of this quilt and quilt those sections. The rest is quilted in large chunks already.  Once these two are done, I can join it all, bind it and {DAH da DAH duh} have a finished quilt.
Comments are welcomed. I will reply when possible unless otherwise stated. Of course if you are a "No Reply Blogger"- I can not reply. Links in posts may be affiliate links for which I am compensated if you click through and purchase.

Saturday, June 24, 2017

One Off, One More On -And a Repair

Lately, my "craftiness" has slowed a bit.  I am doing some studying and trying to get more exercise. Of course, the study involves the creative process and new and/or different methods to do some of the same things I have been doing.   I am also doing some handwork or "slow stitching."

First up is this piece that I took off the loom a couple of days ago. It was washed (wet-finished), ironed while damp, and I hung it to dry.
There is an odd thread/fiber hanging there, but that is not a problem.
Once that was off, the loom was empty - but I had a warp already threaded and waiting to hang on the loom. Within 15 minutes, the loom was ready for more weaving.
I wove a bit to check it out and see that it was going to work well.
It is weaving up beautifully.
This is a narrow warp that was created  to play with matching the color repeats in the variegated yarn.  Only moderate success was achieved on this one - but I like the way it looks.  It is about 7 inches wide and will certainly shrink a bit when it is wet finished - but less than an inch.


The slow stitching I played with was loosely based on some of the study I have been doing.  I hope to tell you more about the study later.
At least two pair of my blue jeans developed holes in the knees.  This is probably because since retirement, I live in jeans.   To me, the denim is extremely comfortable.  
In each pair the hole showed up in the left knee.   Clearly, I kneel on that knee much more frequently.  A few days ago, I needed to kneel down to check something outside,  and "OUCH!"  there was a rock under the left knee - right where the hole was.
While cleaning and doing some reorganization of fabrics and craft materials (still a mess though)  I found pieces of jeans I had cut up to recycle/reuse.   One of those pieces became the backing patch for one knee.   I hand stitched around it behind the hole. Then I found a variegated thicker thread that I used to stitch from the front to reinforce the knee.  What I thought was a rust color in the variegation was actually a bit on the pink side.  C'est la vie!   I also used a blue pen to "blend" the patch just a bit.
Maybe not a pair of jeans I will wear to an event, but they are absolutely fine for day to day wear.   That patch is most likely one of the strongest places on those jeans now.
Comments are welcomed. I will reply when possible unless otherwise stated. Of course if you are a "No Reply Blogger"- I can not reply. Links in posts may be affiliate links for which I am compensated if you click through and purchase.

Sunday, June 18, 2017

A Finish -Hooray!

Yesterday (aka:Saturday) - I started a project to make a table topper from a kit that was given to me.
Yesterday - I worked on the topper. And worked
---and quilted
---and put on a binding
and
Yesterday - I finished it!

The quilting is mostly free motion.  I started with a funky version of a "square flower" in the center - but I added my own quirkiness to it. Then I used wavy lines and swirls for the chevron areas and the small squares.  For the outer border, the free motion foot was used for some organic "sorta straight" lines.
Hooray for a Finish!

I wonder if I can do three of these without borders for the center of a quilt. I had some other ideas for quilting that I could try if I do.  Hmmm...and that center square could be pieced or appliqued or.......
I think the muse is whispering in my ear again.
---but why doesn't she say "Let's finish some of those projects you started and haven't finished yet." Why?
Comments are welcomed. I will reply when possible unless otherwise stated. Of course if you are a "No Reply Blogger"- I can not reply. Links in posts may be affiliate links for which I am compensated if you click through and purchase.

Saturday, June 17, 2017

Table Topper Kit

Part of the day Friday was spent helping a friend with a loom that is new to her. I confess that it was new to me also.  This was a tapestry type loom and I had never warped one of those before. Long story short - we got it warped and I help her get started weaving on it.

As we were packing up to leave, she handed me a gift.  It is a kit that she put together for a table topper.
All of the pieces were pre-cut and all I needed to do was sit down and sew!  Of course it took a bit of time to arrange the colors.  But then I sewed it quickly. 
I am still not sure about my layout, but I think it looks great.  
I am planning to layer, quilt and bind it before the muse runs off again.   Then I am planning to make my own kit and make another one.  It was surprisingly easy to construct once I got going.  

And now - back to the work FUN-room. 
Comments are welcomed. I will reply when possible unless otherwise stated. Of course if you are a "No Reply Blogger"- I can not reply. Links in posts may be affiliate links for which I am compensated if you click through and purchase.

Thursday, June 15, 2017

Dyeing Results

Confession - I was disappointed when washing out the dye from my last batch.  Going in, I was aware that my dye solution was "older" and may have lost strength. But once it was on the fabrics, it appeared bright and lovely. It showed great promise.
The fact is that powdered dye that is premixed with water loses some effectiveness the longer it sits.  To help counter that fact I decided to let the batch set for a full 24 hours - in vain it appears.
This bright piece
became this:
The red and fuschia faded to barely pink and the violet is entirely missing.

Here are the others


They are all useable as they are.  However, none are what I expected or hoped for.
For my next dye batch, I will be mixing up fresh dye concentrate that I will use up in one batch!

The "ugly" fabric that I was over-dyeing needs more pigment. So the next batch will hopefully make it useable.
Comments are welcomed. I will reply when possible unless otherwise stated. Of course if you are a "No Reply Blogger"- I can not reply. Links in posts may be affiliate links for which I am compensated if you click through and purchase.

Tuesday, June 13, 2017

This 'n' That

I have been doing a little bit of this and that today.  Earlier in the day I decided to use some pre-mixed fabric dye.  I soaked some fabrics in soda ash solution in prep for dyeing.   Here is that fabric in the various containers soaking up the dye.
The idea is for this to fade from blue to purple to fuchsia to red. 
I did layered color and drizzled dye on these.  Who knows what will happen!
Left: Three blues with some green mixture squirted on various areas.
Right:  Some "ugly" fabric that I am overdyeing with all of the colors I used above. 
I hope that some of these turn out amazing and that the others are at least useable.

Later in the day, I realized that I needed to actually use some of my hand-dyed fabric.  I cut pieces to make "four at a time flying geese."  I made two sets and then put them into these two blocks.
Once finished, I realized that the contrast on these is very weak.  Oh well!  I will use them with others that have great contrast and they will hopefully look okay in the final quilt.

I think my muse has gone to Tahiti without me.  If you see her, please send her home.
Comments are welcomed. I will reply when possible unless otherwise stated. Of course if you are a "No Reply Blogger"- I can not reply. Links in posts may be affiliate links for which I am compensated if you click through and purchase.

Saturday, June 10, 2017

Trash to Treasure

Hi folks, sorry for the absence but that is life.  Or at least, my life has moments, days, stretches of time that are like that.

I had been away from my loom for a bit so I sat down to play.  There were several bobbins that had been wound for the demo back in April.  I was trying to use them up.
Here is some of the cloth on the loom.
There are several layers wrapped around the cloth beam.  There is more than it appears in this photo.
Then I got to a bobbin that just looked too "precious" to me.   I decided to see what I could add in as I was weaving to make it more interesting.  I grabbed the trash bin from my sewing area - because it was in arm's reach.  You may remember that I have been working on some class samples like this one:
There is handwoven fabric sewn in with the quilting fabrics.  In the process bits were trimmed off and tossed in the bin.
There I found treasures to add into the weaving.
You may not be able to recognize them there, but the trimmings from my handwoven fabric were woven right back in.  I have marked them in the next photo.
There are also some thin strips of solid color and hand dyed fabrics added - but I save them automatically so they were not in the bin.

It is no wonder that I have so many craft supplies in my house.  It is difficult to toss out those bits that will be useful a day, a week, or a month down the road.

(please do not send me your trash - I have enough. Thanks!)

Comments are welcomed. I will reply when possible unless otherwise stated. Of course if you are a "No Reply Blogger"- I can not reply. Links in posts may be affiliate links for which I am compensated if you click through and purchase.

Monday, June 05, 2017

Another Class Sample -and a Plan

It is so much fun making the samples for my upcoming class.  One more top for a pillow is pieced and trimmed.  I am debating whether I should go ahead and make it into a pillow cover or save it to show the process.  I will need at least one top ready to show how to layer, pin and sew it into a pillow cover.
Here it is as it is right now.
This one has two pieces of hand woven fabric in addition to several scrappy pieces of quilting fabric.  Three of those are hand dyed fabrics.  The other four are commercial prints.

As I was cleaning and organizing,  I saw the box that my Electric Quilt 7 software came in. When I picked it up, it was HEAVY.  So I looked inside.   There is a book that comes with EQ7 - and it is 272 pages!  I started looking at it and decided I needed to make real use of it.
The information is fantastic.  It even says "learn here" on the cover. Sigh, and I relegated it to the shelf.

My goal is to go through it doing everything. When I find something that I deem "cool" I plan to post about it. I hope I am not learning so much I forget to blog. 


Comments are welcomed. I will reply when possible unless otherwise stated. Of course if you are a "No Reply Blogger"- I can not reply. Links in posts may be affiliate links for which I am compensated if you click through and purchase.

Friday, June 02, 2017

Samples and Squishy Mail

My latest project is making some samples and planning for a class I am teaching in August.  The class is for weavers to learn to use scraps of handwoven cloth along with other fabrics to make patchwork items.  The class will show how to make a pillow, but the skills will be perfect for so many other items. I am truly excited to have this opportunity.   I have made a couple of sample pillows.
Four-patch on the left, "kinda" log cabin on the right.
The juxtaposition of handwoven and quilting fabrics makes my heart sing.  Plus, the leftover pieces are useful this way. It is a new artform for me.   The class is limited to eight students due to space and time considerations.  I want everyone to walk out happy and confident.
There are sample pieces in progress but I didn't take photos of them. (sorry.)

The mailbox had a wonderful squishy package in it today.  When blogger and fabric dyer extraordinaire, Vicki Welsh (Colorways by Vicki Welsh) went on vacation, she had a weeklong giveaway.  Since I love her fabrics, I entered every day.
Surprise (or not) - I won from an entry on the 3rd day.  The theme that day was "Purples."  There are "scraps" of purple fabrics and an ice-dyed kitchen towel.   That towel is huge.  Perhaps I will cut it in half and have two for my kitchen.  Here it is draped over my computer/office chair.
The top is over the back of  the chair and the bottom is over the entire seat.

The "scraps" are lovely pieces of hand dyed fabrics.
Picture "borrowed" from Vicki's blog
That is the towel at the bottom.
Here are my photos - (not as good as her photo - hence the borrowed one)

I call them "chunks" of fabric.  These will be amazing for art quilts or whatever they become.
And then there are these pieces that appear to be excess from die-cut quilt blocks.
There will be piecing fun with these for sure.  Maybe a piece or two will end up in one of my pillows!
I do love a squishy envelope in the mail.  Thank you, Vicki.

Comments are welcomed. I will reply when possible unless otherwise stated. Of course if you are a "No Reply Blogger"- I can not reply. Links in posts may be affiliate links for which I am compensated if you click through and purchase.