Friday, June 30, 2023

The Face of Quilting

That title could be used so many ways, I realized after I typed it.  But I hate coming up with titles so I said "Hey, it works." 

I am quilting on my Wild and Colorful quilt, section one.  There are three sections to be quilted, so I am sure it will take me a while. However, it is as hot as a hapless missionary in a cannibal's stewpot here in Alabama. So I am in no rush to complete this quilt.  I am doing my usual "quilt one pattern for a bit and then change at will" way of quilting. 
Here are a couple of pictures of some of the quilting. 
This flower didn't work out just as planned, so I improvised and added some echos and sort of feathered around it.  I think it is fun and it certainly serves the purpose of getting it quilted. 

This paisley is one of my go-to designs because it is easy (for me) and usually looks good. 
Yeah, I put those mistakes in there so you wouldn't feel bad about *your* quilting skills. (wink)

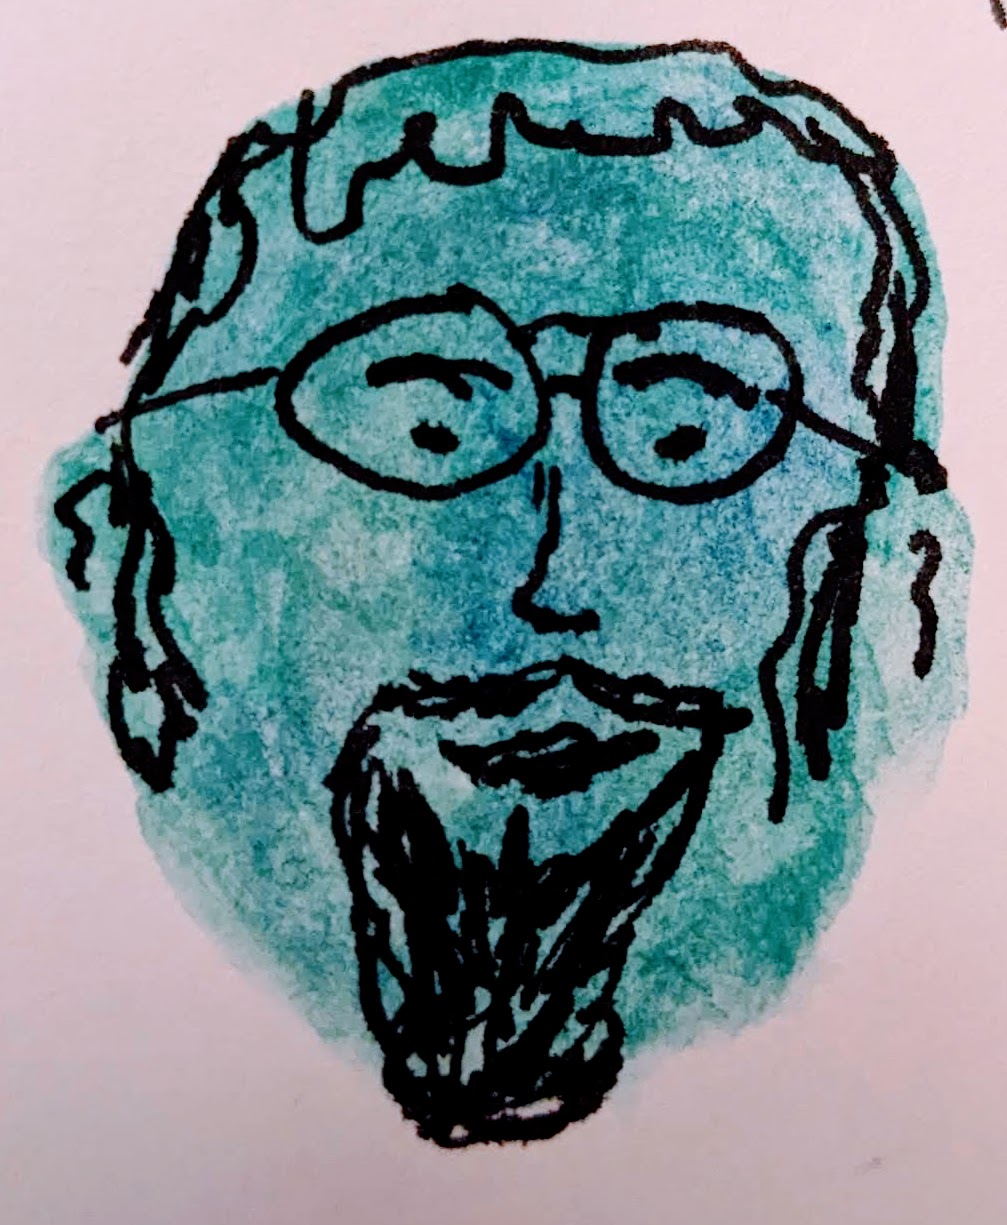
And with this post going up on Friday morning, I needed a face. So here is a crazy free-motion quilted face that I just added in for fun.  I hope it made you laugh. I love to add in silly little motifs when I am quilting. Then someone looking at the quilt can find them and get a laugh. 

I am linking up with DVArtist/Nicole for the Friday Face Off


Until Next Time,  
Stay Creative 


Comments are welcomed. I will reply when possible. Of course if you are a "No Reply Blogger"- I can not reply. Links in comments will result in the entire comment being deleted.

Monday, June 26, 2023

Yes I am Still Making Quilts

Ha ha... I know that I haven't shown any of this quilt in a while.  I am sure some of you have thought "Is he still making quilts?"  Yes!  I have been working on this one for a while.  It is in three long pieces.  These will each be backed, basted and quilted before I join the three into one nice quilt for MY bed. 

Here are the pieces (what you can see of them) spread out on the bed. 
As you can see it is going to be one of my wild and colorful quilts. I make these using unused blocks, orphan blocks or pieces, scraps and occasionally a bit of yardage. 
The main rule is "make it fit together." 

Below you can see the end of one piece, using the Blue fabric that I picked to be the color to tie it all together.  Blue is one of my favorite colors so there is already some shade or hue of blue in many of the blocks. 


I love putting some random curves in the top and bottom borders.  The piece just above that is one that I used rubber stamps on with fabric paint. I also carved the rubber stamps making that bit truly original. 

Monday morning,  my Spanish language study partner texted that she couldn't do class.  So I decided to baste the center section (it is the widest section.)  I had pieced the back over the weekend in odd minutes.  I even remembered to take a couple of photos. 
To the left is the backing, while the right shows that end piece again. 
The spray baste can marks the separation of back to front. 


This second photo shows a bit more of the backing fabrics. 
I am LOVING that strip of hand dyed fabric that came from Vicki Welsh. 
It is a piece of her "waste fabrics" that you can't buy, but if you follow AND
are really lucky, you may win. I was lucky! 

I also sewed out and made a tiny quilt using the Skull embroidery that I digitized on my computer. 
I did go back to the file and change the mouth.  

The "face" is made of canvas that is applied as an applique. 
Not a great idea as it wanted to shred, but I think I got it sewed down safely. 
The eyes, ear hole and mouth are all "sketchy" embroidery.  This allows the canvas to 
peek through so that it adds some dimension -at least that was the idea. 
I forgot to change the nose hole, so it is more solid black. 
I used a lovely mottled brown fabric as the base fabric and a solid black for the backing and the "frame."  Now it is at the Post Office, ready to wind its way cross country. 


Until Next Time,  
Stay Creative 


Comments are welcomed. I will reply when possible. Of course if you are a "No Reply Blogger"- I can not reply. Links in comments will result in the entire comment being deleted.

Friday, June 23, 2023

For Nicole

Today's face image is in honor of the host of the Friday Face Off, Nicole. You see, Nicole creates some of the most interesting skulls using various materials.  That inspired me to see if I could create a skull in my embroidery software.  
For anyone who is interested, I use Embrilliance software on my 12 year old iMac computer to create embroidery.   It involves creating shapes, assigning various types of stitches and adjusting the properties of those stitches.

Here is my skull:


This is a digital image of an embroidery that I digitized for my embroidery machine. I then put the design into photo software to add the background color. 

 I am linking up with Nicole at the Friday Face Off .


Until Next Time,  
Stay Creative 


 Comments are welcomed. I will reply when possible. Of course if you are a "No Reply Blogger"- I can not reply. Links in comments will result in the entire comment being deleted.

Wednesday, June 21, 2023

More Fun!

After my "Just for Fun" post I got a comment from Elizabeth  saying that one of the faces "reminds me of the Wicked Witch from the Wizard of Oz."   Here is that face again:

Today I was truly playing.  I used one of the drawing tools and created a shape. 
Hmmm...... that looks like...... well if I turn it a bit....maybe.  
YES
It is a SHOE. The color just happened to be ruby red because I had been playing with digitizing hearts before that. 
It used the last color I had chosen. It is easy to change, but, well.........
I copied and mirrored that piece.  
Then I added two more shapes - LEGS.  
I chose a variegated thread from the digital selection, and there it was:

A pair of Wicked Witch legs with ruby "slippers" on her feet.  I honestly doubt that the variegated thread would sew out that neatly, but it certainly created a fun image. 
On the practical side, I could split the sections of the legs and add color changes.


Until Next Time,  
Stay Creative 


Comments are welcomed. I will reply when possible. Of course if you are a "No Reply Blogger"- I can not reply. Links in comments will result in the entire comment being deleted.

Friday, June 16, 2023

Just for FUN

I have decided that at this stage of life, I should do more things "just for fun."  There are no requirements to create perfect works, or even finish a project - until I am ready to finish it.  

This past week, Mom and I started a puzzle.  I confess that my brother did a small bit to help, but mostly it was just me and Mom.  I think we started on Monday and were finished by Thursday at lunch.  It is a 500 piece puzzle from Buffalo Games. 

I was truly surprised that after I left Thursday morning, and then returned at noon, Mom had put in the final pieces - some of the rough water on the right hand side. 

I have been playing - Just for FUN - in my embroidery software creating faces. 
Because I had failed to save the working file for my male face,  I decided to create a new one. For this one I added glasses and a mustache. 

---and yes, I did remember to save the working file. Ha ha. 

Next up with this "lady" 

The green of the face is not stitches, but an applique fabric. This is only a mock-up.  I have not yet tried to stitch out the design.  
The main point of playing with these faces was to re-learn the finer points and tricks to working with the software.  That was the reason for making the second face as a machine applique file.  I have also been watching a lot of educational videos on the software. 

Since I have the two faces,  I am linking up with Nicole at the Friday Face Off .

Have a great weekend. 


Until Next Time,  
Stay Creative 


Comments are welcomed. I will reply when possible. Of course if you are a "No Reply Blogger"- I can not reply. Links in comments will result in the entire comment being deleted.

Friday, June 09, 2023

FaceOff June 9, 2023

In the last couple of weeks, I finally figured out what was wrong with my embroidery machine. (It died just before the pandemic.) I haven't ventured far enough afield to have it repaired.  I was trying to get an estimated cost (none of the shops I called would venture a guess.)  But I was hoping some user had perhaps posted about the same problem.  

I was amazed to find a video on youtube about it - but it was in Russian. Yikes!  I decided to watch it anyway and see what I could figure out.  His screen showed the exact error message I was seeing, even though it was  a different model machine in the same brand.  He had removed part of the casing at the top of the machine. I could see three phillips head screws holding those parts on my machine.  So, I bravely (recklessly???) took off that part of the casing.  The inside looked very similar to what I had seen.  I ran back to the computer and watched again - VERY carefully.  I used my fingers and moved the part that I had seen him move.  Taking a deeeeep breath, I turned on the machine.  WOW, it went into sewing mode, not the error screen.  Now, to put on the embroidery unit and see what happens. 
Whew!  Once it was installed, I turned on the machine again.  HOORAY!  It started normally.  I did a quick test sew and it was embroidering correctly.  

Fast forward to Wednesday.  I sat down at my computer and opened Embrilliance, my embroidery digitization software and played.  I created a basic little face, saved the file and took it to the machine. 
I realized that I didn't reorder the sewing sequence correctly, but with some finagling I got it to sew out correctly.  (errr...more or less) 

My biggest error was that I only saved the sewing file, not the working file.
If I wanted to use this again (and correct it) I would have to recreate it. 
Lesson learned. Ha ha. 


Until Next Time,  
Stay Creative 


Comments are welcomed. I will reply when possible. Of course if you are a "No Reply Blogger"- I can not reply. Links in comments will result in the entire comment being deleted.

Wednesday, June 07, 2023

Birdies - Progress Report

The little Phoebes seem to be doing quite well.  I took a step stool out to the back stoop and reached my camera above the nest to satisfy my curiosity.   Honestly, I am waiting for them to vacate the nest so that I can remove it and clean the bird excrement from my light fixture. 
The little face with the open mouth is clearly waiting for food.
I have to say that they look much better since the feathers have filled in. 


Until Next Time,  
Stay Creative 


Comments are welcomed. I will reply when possible. Of course if you are a "No Reply Blogger"- I can not reply. Links in comments will result in the entire comment being deleted.

Friday, June 02, 2023

Face off - Inky Faces

This is just a quick post.  This week has been quite busy due to a couple of family issues.  All is well, I think.

So, previously I posted an "Inky Face" that I did in an online class.  I have two more of those little faces to share with you today. 

When making this lady, I was adding more color and added a shadow/halo on her profile.
With ink, it is not possible to correct that.  So there she is, errors and all.

Perhaps this fellow is the "Jolly Giant" - he isn't exactly green. Ha ha. 
The pigment in this granulated slightly, but I like the depth it adds to the face.

If you would like to take the same "class" it is on CreativeBug and with this link you should get a free month.   The class I watched is  Inky Faces with Lisa Congdon: 8/14/18  There is a date with the title because the class was recorded live.

I am linking up  to the Friday Face Off (hosted by DVArtist.)


Until Next Time,  
Stay Creative 


Comments are welcomed. I will reply when possible. Of course if you are a "No Reply Blogger"- I can not reply. Links in comments will result in the entire comment being deleted.