
Some quilters think that they need to cut neat exact pieces for any block, but that is not how I do this. For me, improv is grabbing a piece to add on that hopefully will look good and have a nice value change. (dark against light.) My pieces don't always fit exactly. Look at this piece.
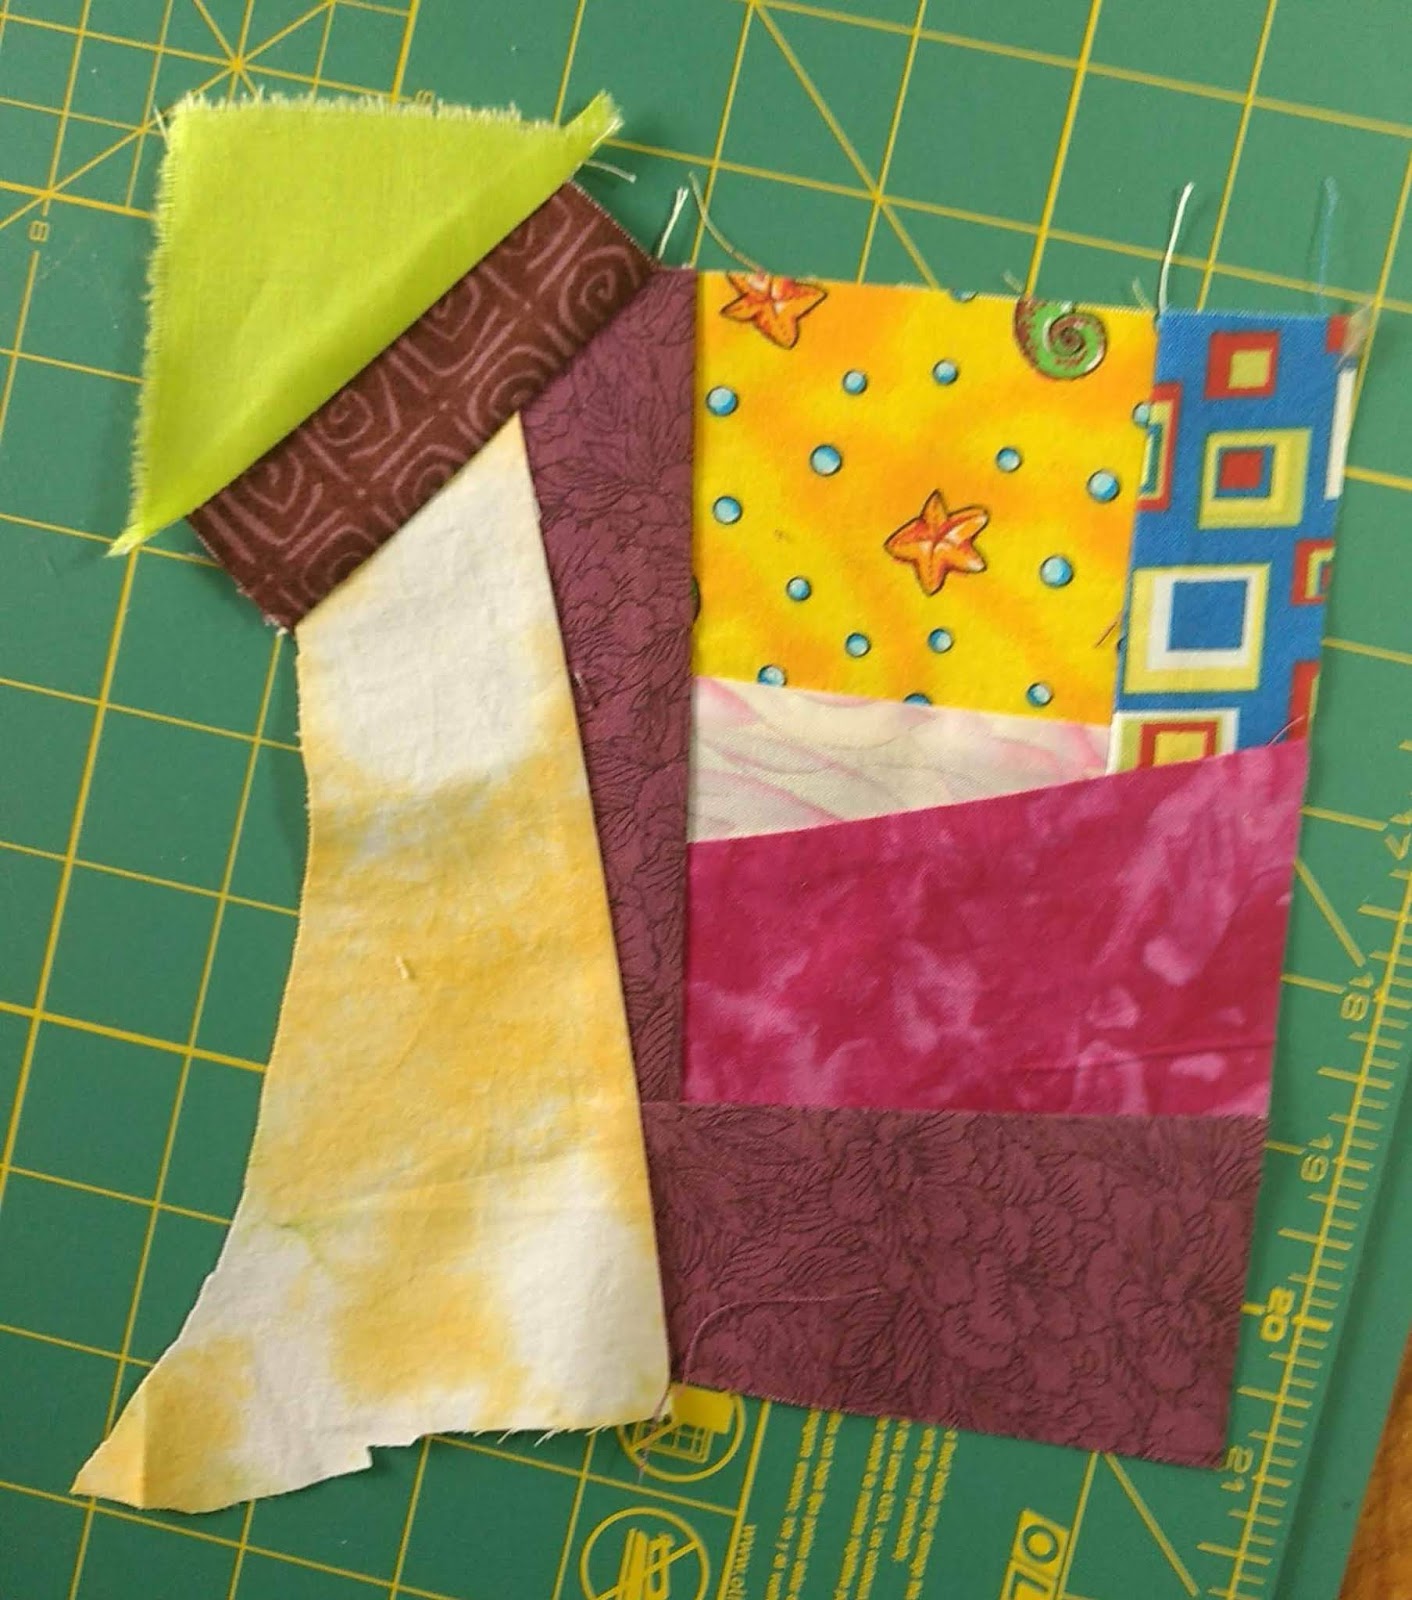
This next piece (the center section) was scraps cut away from some other block parts.

In the final one, the green strip was added across the top without trimming. It is faster for me this way and I stay more in the creative flow.

Recipe as requested!
Several asked for the recipe for the "cake" that I made for Mom's birthday. The recipe that I used was for the filling between the layers. It is Peanut Butter Cream Cheese Frosting.
* note: I did cut this in half as I was only using it between the layers - but then I added a bit more cream cheese - because---YUM!.
Peanut Butter/Cream Cheese Frosting
1(8 ounce) package cream cheese, softened
1⁄2cup creamy peanut butter
1 teaspoon vanilla
3 -3 1⁄2cups powdered sugar
2 tablespoons milk or 2 tablespoons cream
DIRECTIONS
Mix together cream cheese and peanut butter with mixer until smooth.
Add vanilla and powdered sugar, 1 cup at a time, along with the milk or cream and beat until spreading consistency.
(I used only 3 cups powdered sugar and 2-3 tbsp. of milk).
Spread on cooled cake.
Big Confession: I used a Duncan Hines dark chocolate cake mix - it said "3 large eggs" but I substituted 2 Jumbos and one Large egg. Other than that I followed the directions. I alway put a parchment circle in the bottom of the pan.
Next- for the outside frosting- I used Duncan Hines Dark Chocolate Fudge frosting. (no high fructose corn sweetener.) I put it in a bowl and whip it pretty good with the mixer to make it spread better and look prettier on the finished cake.
Then I used some mini chocolate chips all over the top which worked out very nicely. They add a surprising bit of "chew" to that you wouldn't have otherwise. I really liked that addition.
 Comments are welcomed. I will reply when possible unless otherwise stated. Of course if you are a "No Reply Blogger"- I can not reply.
Links in comments will result in the entire comment being deleted.
Comments are welcomed. I will reply when possible unless otherwise stated. Of course if you are a "No Reply Blogger"- I can not reply.
Links in comments will result in the entire comment being deleted.
7 comments:
Your improv pieces are great and you make really good teaching points to remember. The recipe sounds good...I gained pounds just reading it:)
I really like all the blocks you are making--a great way to use scraps without having to cut them out into small pieces. I have seen a lot of these on Instagram lately.I made a lot of blocks like this several years ago, but that is as far as I got. I am not sure how I want to set them in a quilt.
Thank you sooo much for the recipe. My husband will love this.
P.S. Someone told me to add a little butter to bought cake mixes and it will taste more handmade. I tried it and it does taste better.
Have a great day!
Would you put sashing around the improv blocks? I'm interested to know how they come together in a quilt.
Thank you for sharing the recipe :)
Thanks for the recipe. It sounds yummy (with peanut butter, chocolate and cream cheese, how can it go wrong). I'll be trying it soon.
Oooh - THANKS for the recipe!! As a lover of chocolate - peanut butter - and cream cheese - I now know exactly which dessert I'll be making next - LOL - ;))
Your "improv" blocks look a lot like my "crumb" blocks - but on a larger scale - and with more creative thought involved in deciding which fabric to add next. My "crumb" blocks use the "kitchen sink" theory of quilting - "everything goes" - and with my favorite setting blocks - they all seem to play nicely - ;))
I love the improv blocks that you art working on! I’ll be watching to see how you put them all together!
I will definitely be trying that recipe very soon. Hope you have a great Memorial weekend!!!
Post a Comment