
I start with hand-dyed fabrics -or- batiks. Both are great for fusible applique. The reason is that there they are generally a higher thread count (less fraying) and the color goes all the way through the fabric. Thus there is never a "white outline" from the base fabric as there is often with a print.
I start by fusing some fabrics. Okay, to be honest I have a bin of pre-fused fabric ready to play. But for this tutorial, I grabbed some pretty hand dyed fabrics and fused them. (You can never have too many "crayons" in the box, can you?)
I am not showing the fusing process as it is different for various brands of fusible. Today, I used MistyFuse, but I also have Wonder-Under and Steam-a-Seam 2. The MistyFuse is thinnest and thus easier to quilt through. You can layer the Wonder-Under almost as well, but the Steam-A-Seam is a bit thicker and more than two layers is difficult to quilt through. I never know how many layers I will have for these.
So I fused these fabrics:

When the MistyFuse is properly attached it gets a nice shine as you can see in the picture below.

You can actually see the web of glue in this photo. But I assure you it is just the shine.
This is well fused in place.
I also have this bin of pre-fused fabrics

You will notice that there are some odd pieces cut out and some small pieces that
many people would have discarded. But continue on and see why I keep them.
As a work place, I use a silicone sheet - I think this one was sold as an oven liner.
There are many on the market. The MistyFuse Goddess sheet leaves a nice wavy
design in the fusible on the back of the fabric. Yes, I would like one of those, but,
I already have this one, so I spend the money on other supplies.
Also in the photo is a piece of silicone release paper from the back of some wonder-under.
That is an acceptable surface also. And you see my Clover mini-iron, which is handy for
this when I am not working at the ironing board. And yes, sometimes I do this at the
ironing board also.

Now comes the fun part: Cutting the pieces. For this one I am doing an "alien head."
So I decided to cut the shape using my Tri-Recs ruler but stretching it out by moving the ruler
after the first edge was cut. (Hint - think outside the box and make the most of your tools!)

I layered two fabrics because I like the two color faces.
There was an overlap so that I could trim a curved edge.

I trimmed off some of the brown -which will be on bottom- to have less layered.
Then I cut the curvy line on the edge of the blue.

Next I lightly fused these together. This is a temporary heat fuse. You only press the iron until
the glue melts enough to hold it in place.

I have two pair of scissors that I use for cutting the features. One is from Famoré Cutlery,
the other are Karen K. Buckley 4" perfect shears. I prefer the Famore ones for general use.
I also keep some pre-fused white (ish) batik for eyes. The trick is to fold the piece of
pre-fused fabric right sides together and cut both eyes at once if you want them to match.

Here are those eyes placed on the face.
For a human face you would place the eyes roughly halfway
down the face, for an alien, you have more options.

I want you to see that the eyes are only tacked in place, so I could pull them up and move
them if I wanted to do so. This allows for creative options

Next the nose is added. Notice the small scrap of light blue fabric.
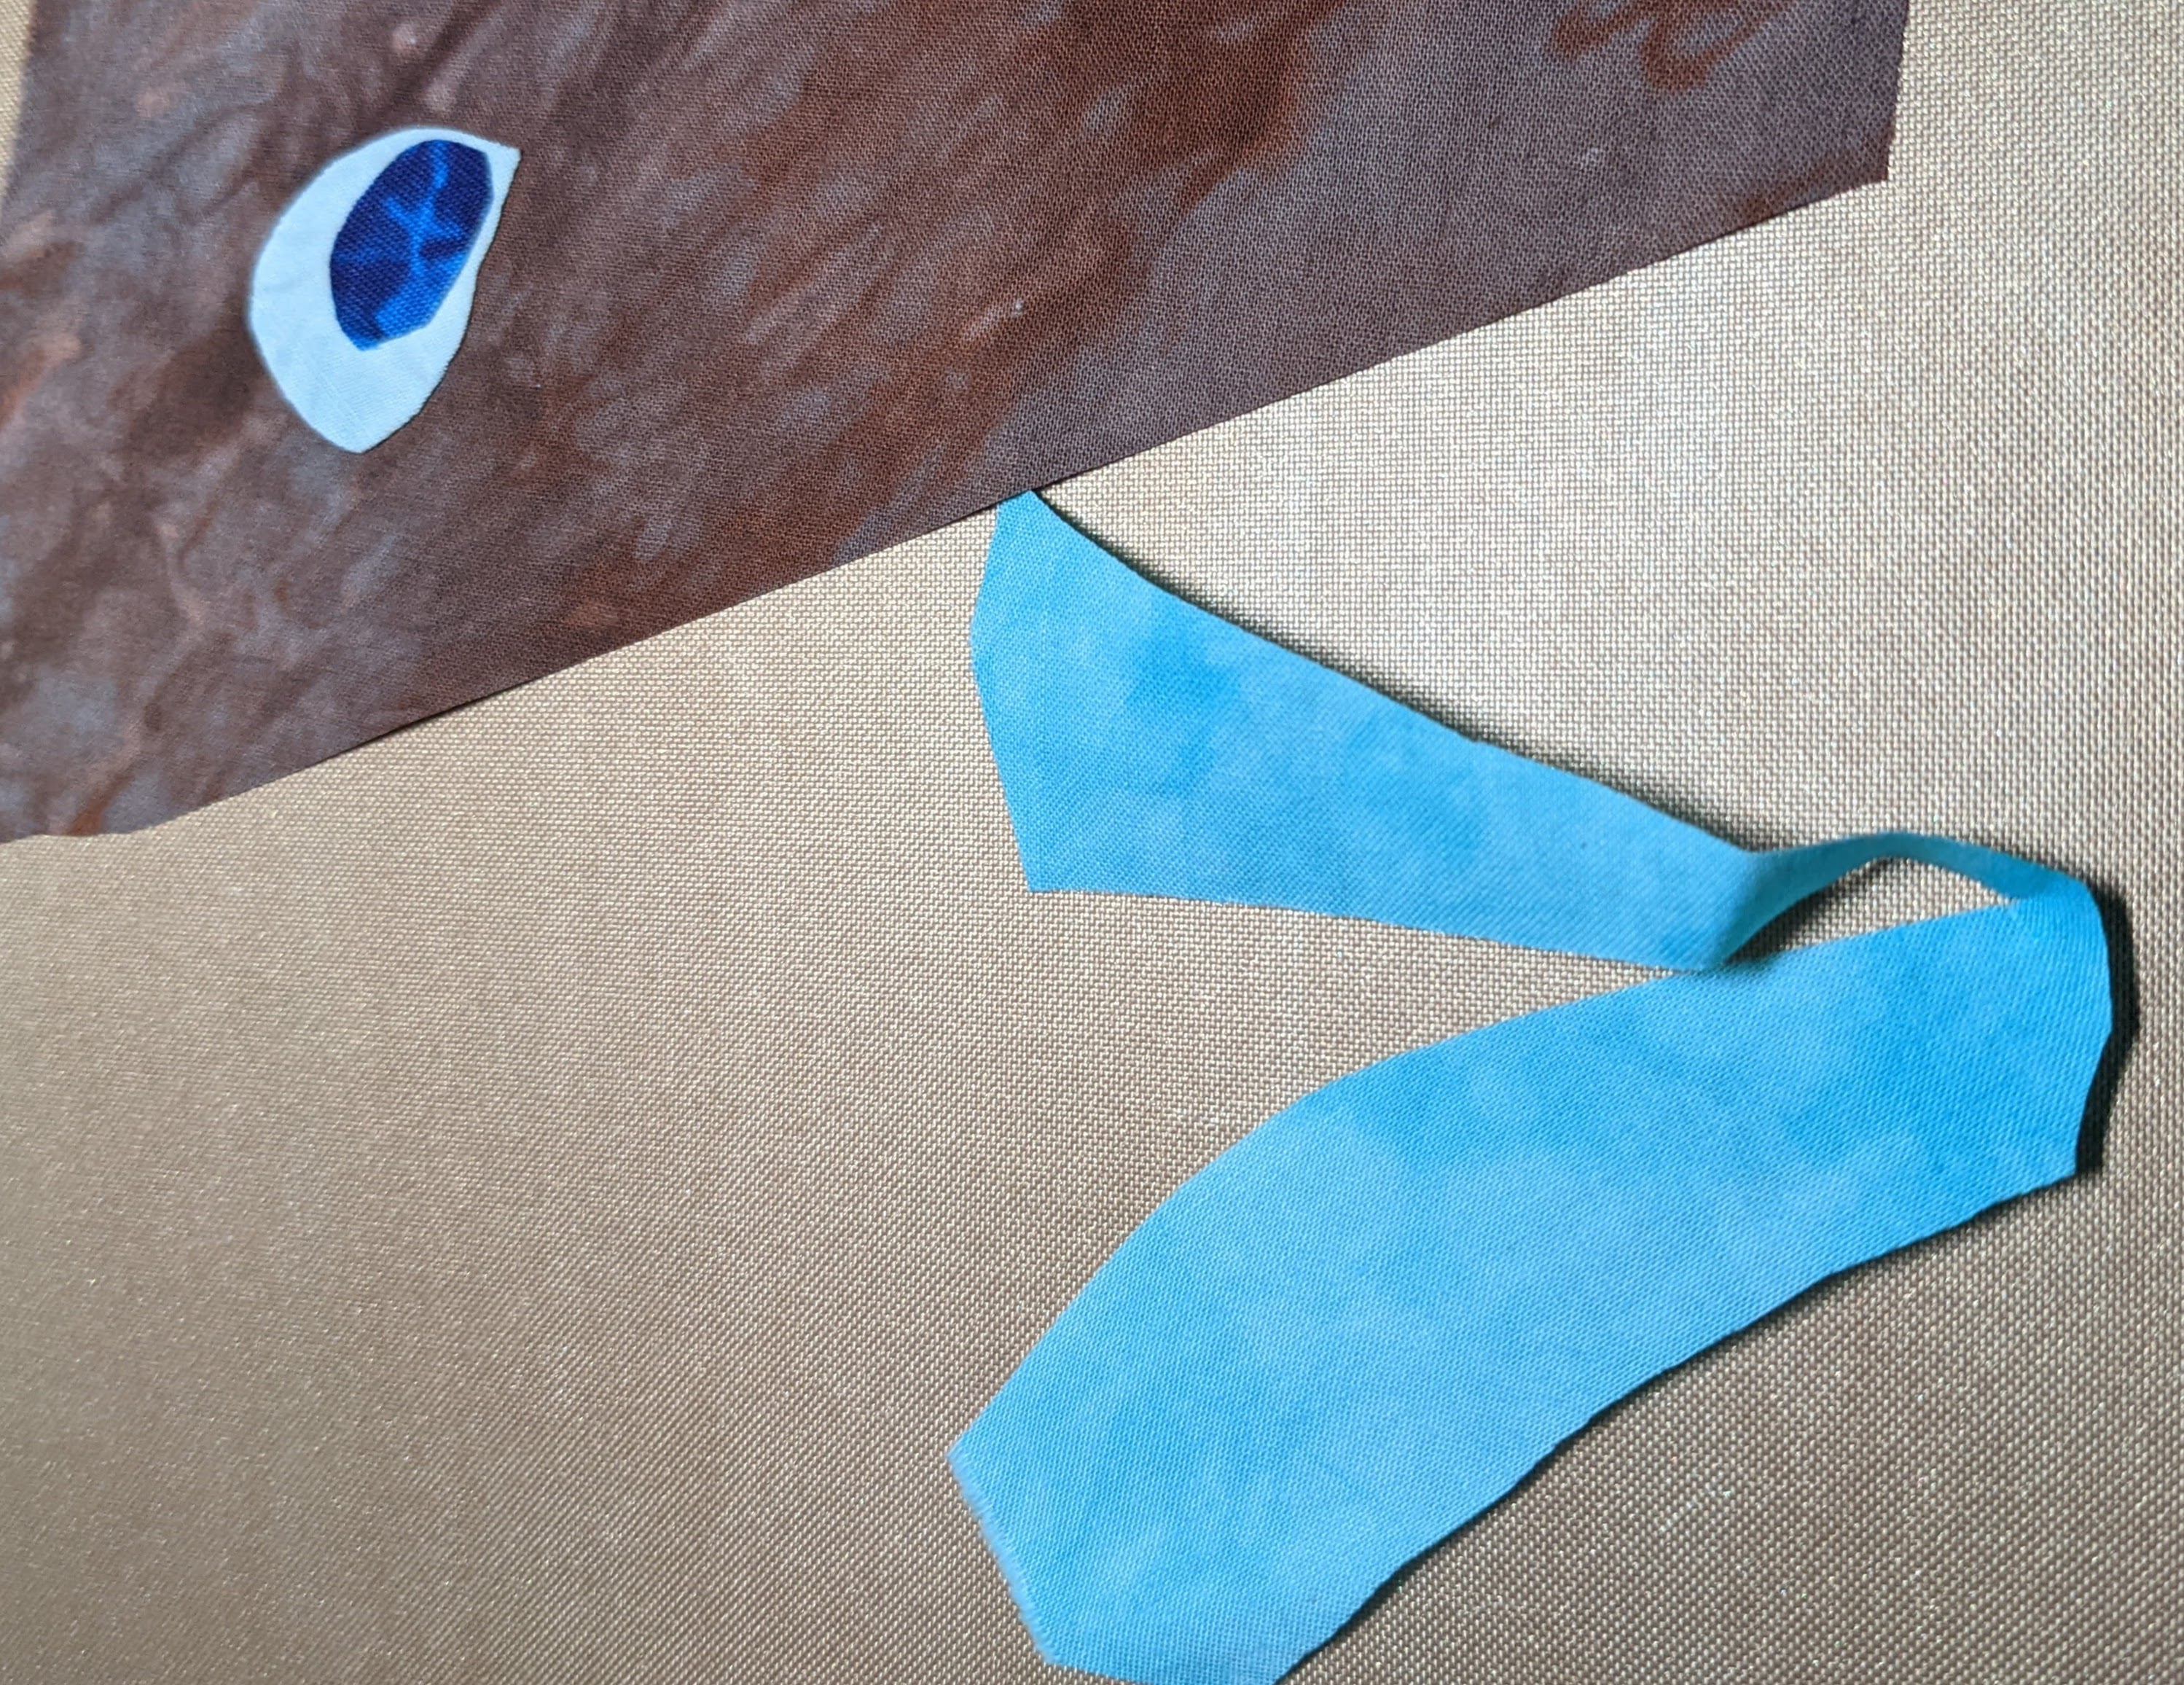
Had I thrown that small scrap in the garbage, I would have
needed to cut into an extra piece of fabric. As it is,
I have the larger piece of this saved for another project!
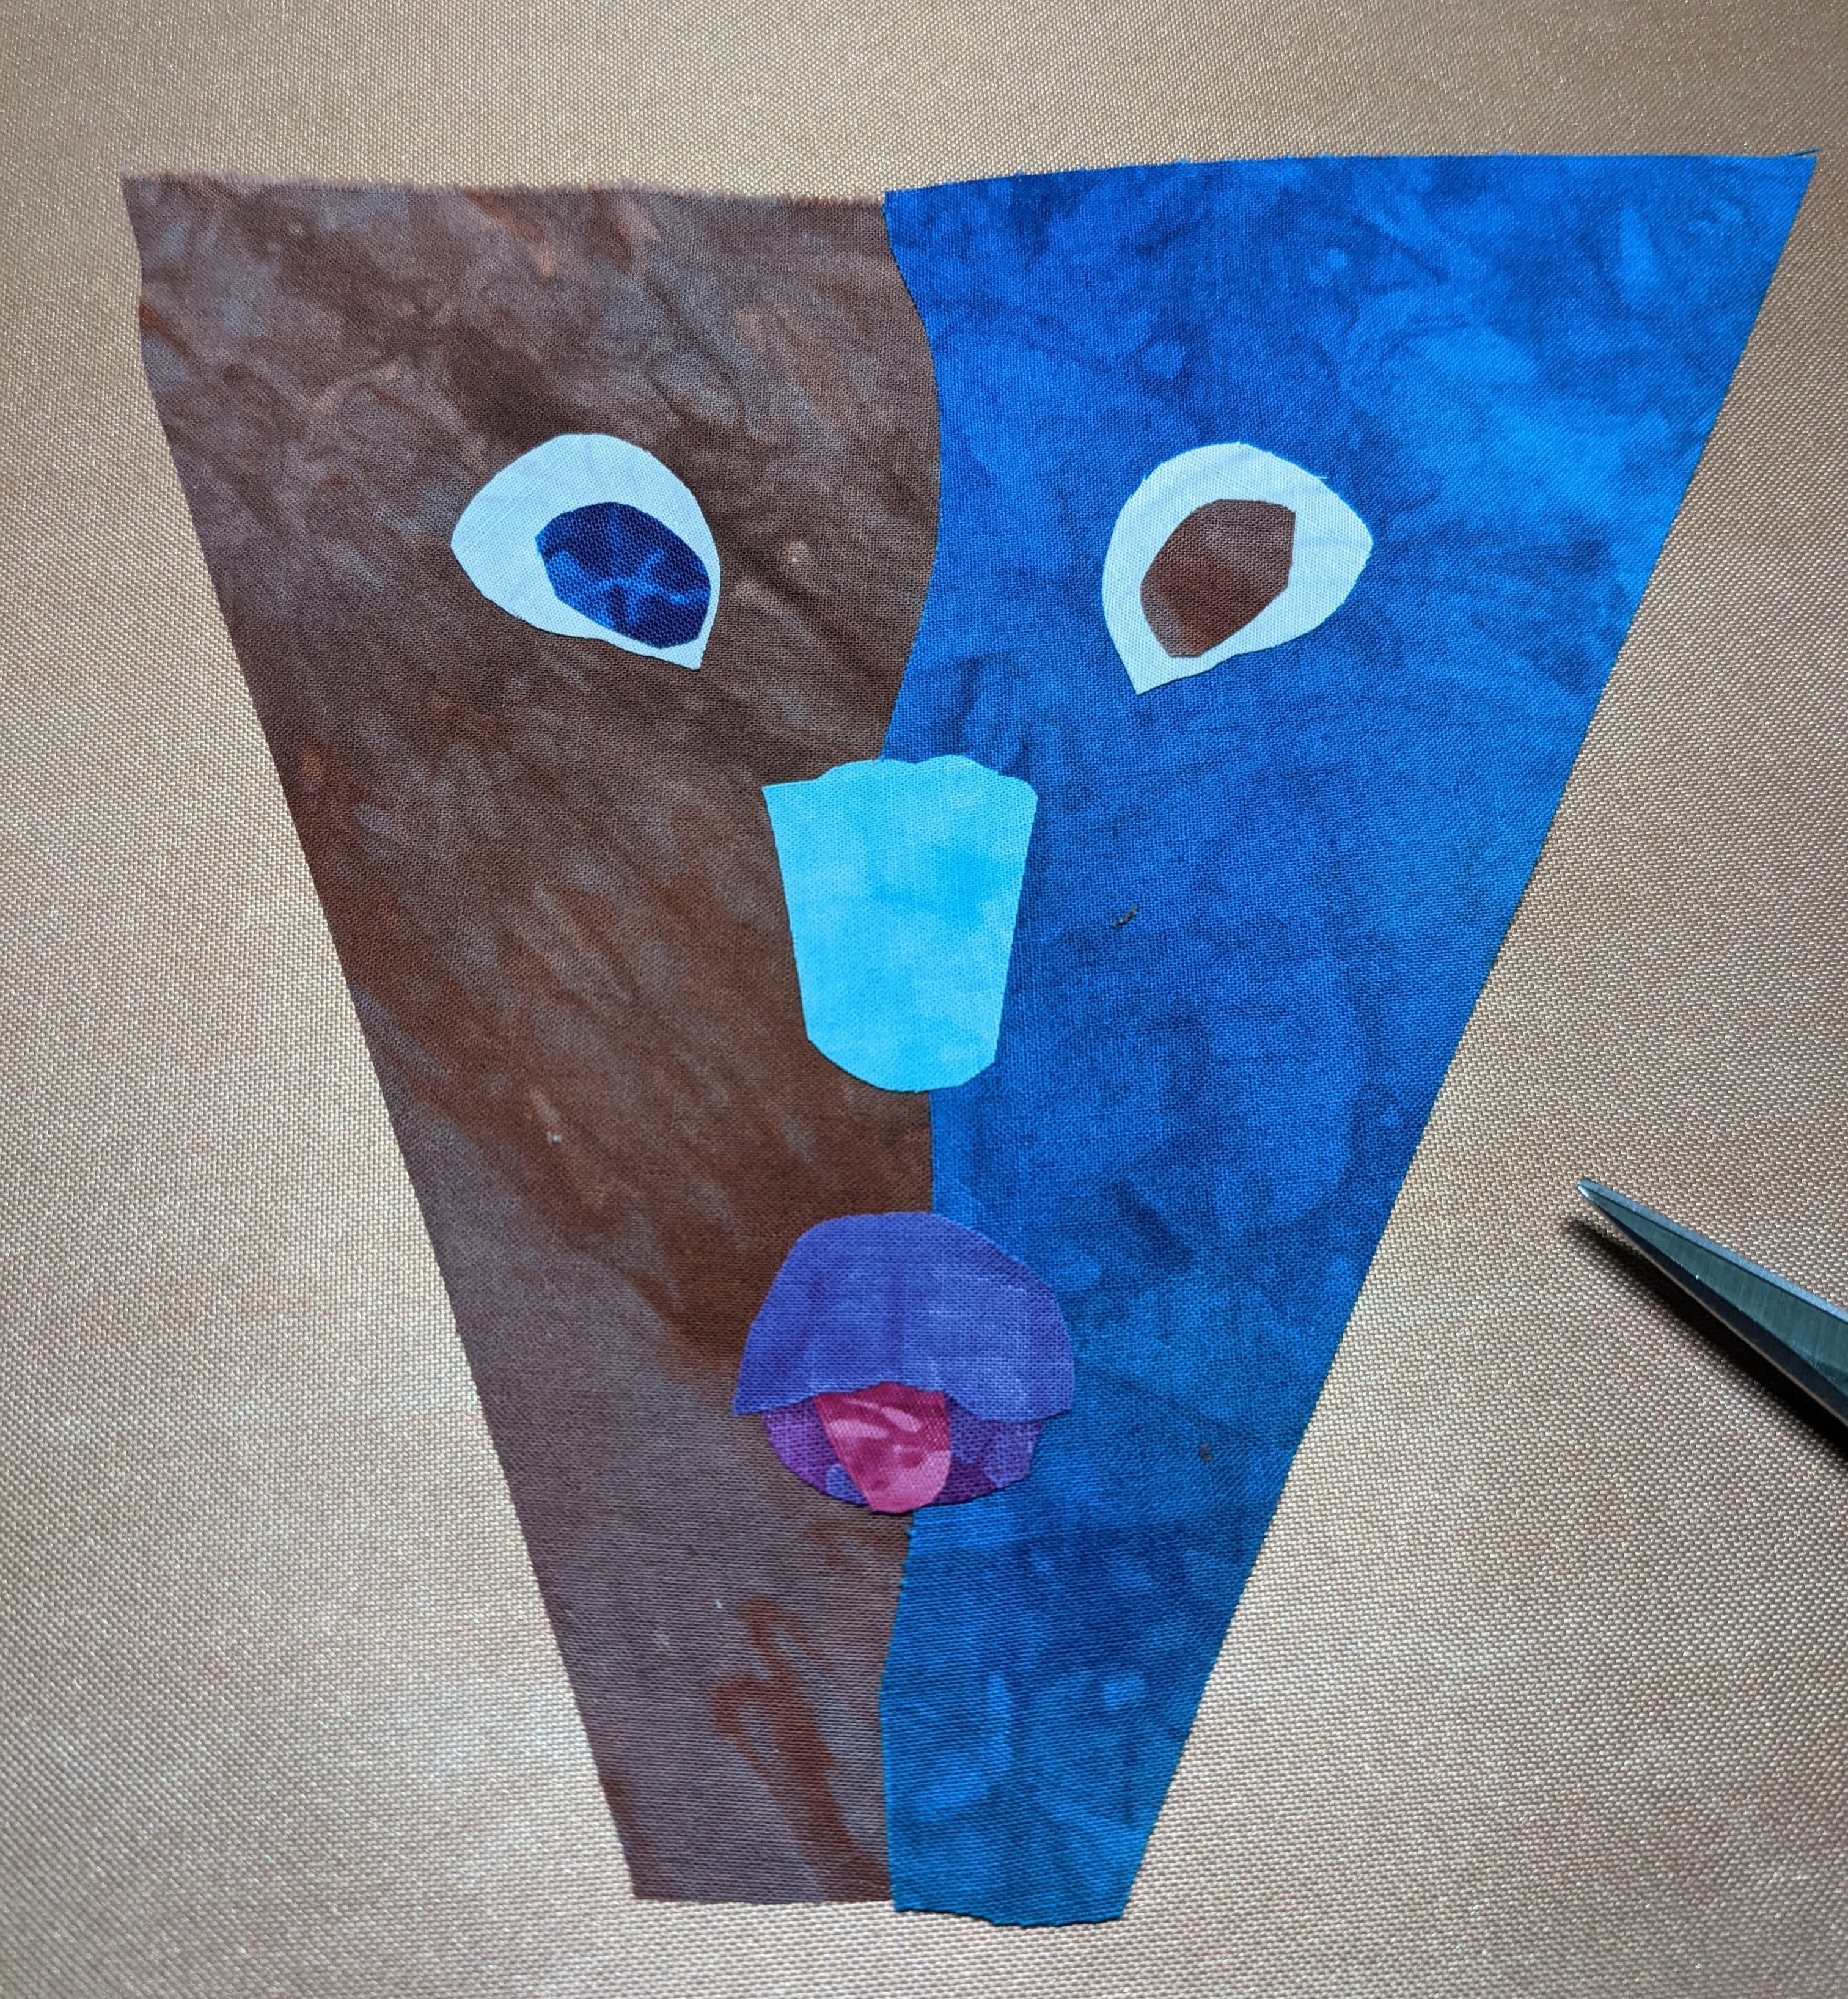
In this one I have added a mouth with the tongue sticking out, just for fun.
The mouth was also cut from some very small scraps that I had kept.
I will add "hair" and a neck and some other features before he is finished.
Do you think you could do this? I think you could.
Until Next Time,
Stay Creative
 Comments are welcomed. I will reply when possible.
Of course if you are a "No Reply Blogger"- I can not reply.
Links in comments will result in the entire comment being deleted.
Comments are welcomed. I will reply when possible.
Of course if you are a "No Reply Blogger"- I can not reply.
Links in comments will result in the entire comment being deleted.
5 comments:
Lots of thinking and planning in these! 🤗
Thanks for a WONDERFUL tutorial, Gene! "I think I can" - see another SQUIRREL - LOL - ;))
Ohhh Gene this is a wonderful tutorial. I personally love seeing how you create. Have a lovely day and see ya tomorrow.
Looks like you are having fun! I think that when you are in the zone of creativity that it's disruptive to stop and take photos. Thanks for taking the time to do it for us this once.
I'm not sure I could do it well but it sure looks like a fun project to try. This is a great explanation of your process and I appreciate all the extra tidbits, like the differences in fusible materials.
Post a Comment