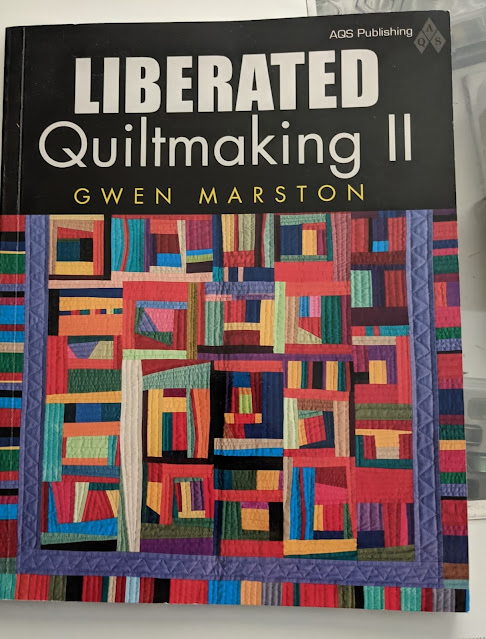
Next up was the idea of borders. As you can see, the cover photo shows a liberated quilt top with a solid border around the middle section -then a liberated piecing border outside that. Marston showed this idea several times. So I added the blue border. Then I added a border of snub-nosed triangles. But to finish it out, I decided on a "semi-solid border" with an interesting print fabric that looks hand-dyed.
Of course I broke up that border with a few pieces of blue, one of green, and a real hand-dyed fabric.
Here is the top as it is now.
Here is the top as it is now.
The hand-dyed fabric almost disappears into that border fabric, but it is there on three of the four edges.
At this point, I plan to back and quilt this small top and make a nice table topper. It is roughly 29" square. That means it will be easy to use yardage to make the backing --- unless I decide to piece a backing.
 Comments are welcomed. I will reply when possible.
Of course if you are a "No Reply Blogger"- I can not reply.
Links in comments will result in the entire comment being deleted.
Until Next Time,
Stay Creative
 Comments are welcomed. I will reply when possible.
Of course if you are a "No Reply Blogger"- I can not reply.
Links in comments will result in the entire comment being deleted.


5 comments:
Beautiful, Gene! You did a masterful job.
I agree! You did a masterful job - and the fabric for that last border is perfect! - ;))
I love what you did with this, Gene! Liberated for sure! The darker border against the lighter border, still being all versions of blue, is perfect. My king quilt in progress needs a whole lot of borders to get it up to size. I wish I could say they are looking as coordinated as yours. The word “liberated” fits perfectly.. Put another way “anything goes” is what’s happening especially since I’m trying to use only stash fabrics.
I didn't know how, but I knew you could do it! Fabulous. Congratulations!
It turned out cute!
Post a Comment