
So, as I was putting the warp thread on the loom, I took some pictures of the process. This is the process known as direct warping. It is my favorite way to warp my looms.
I started by fastening the loom to the table (no picture) with the clamps that came with it. Next I attached the warping peg to the back of a chair (as you will see later.) Then from the back of the loom, I tie the warp yarn to the bar called the apron rod. It is then fed through the slots in the loom and around the warping peg.


From the back apron rod, through the heddle and around the warping peg(which is barely visible here.)
When you finish doing this through all the slots you are using, it is time to tie off the yarn on the back apron rod. You just cut it and tie the end onto the rod tightly.
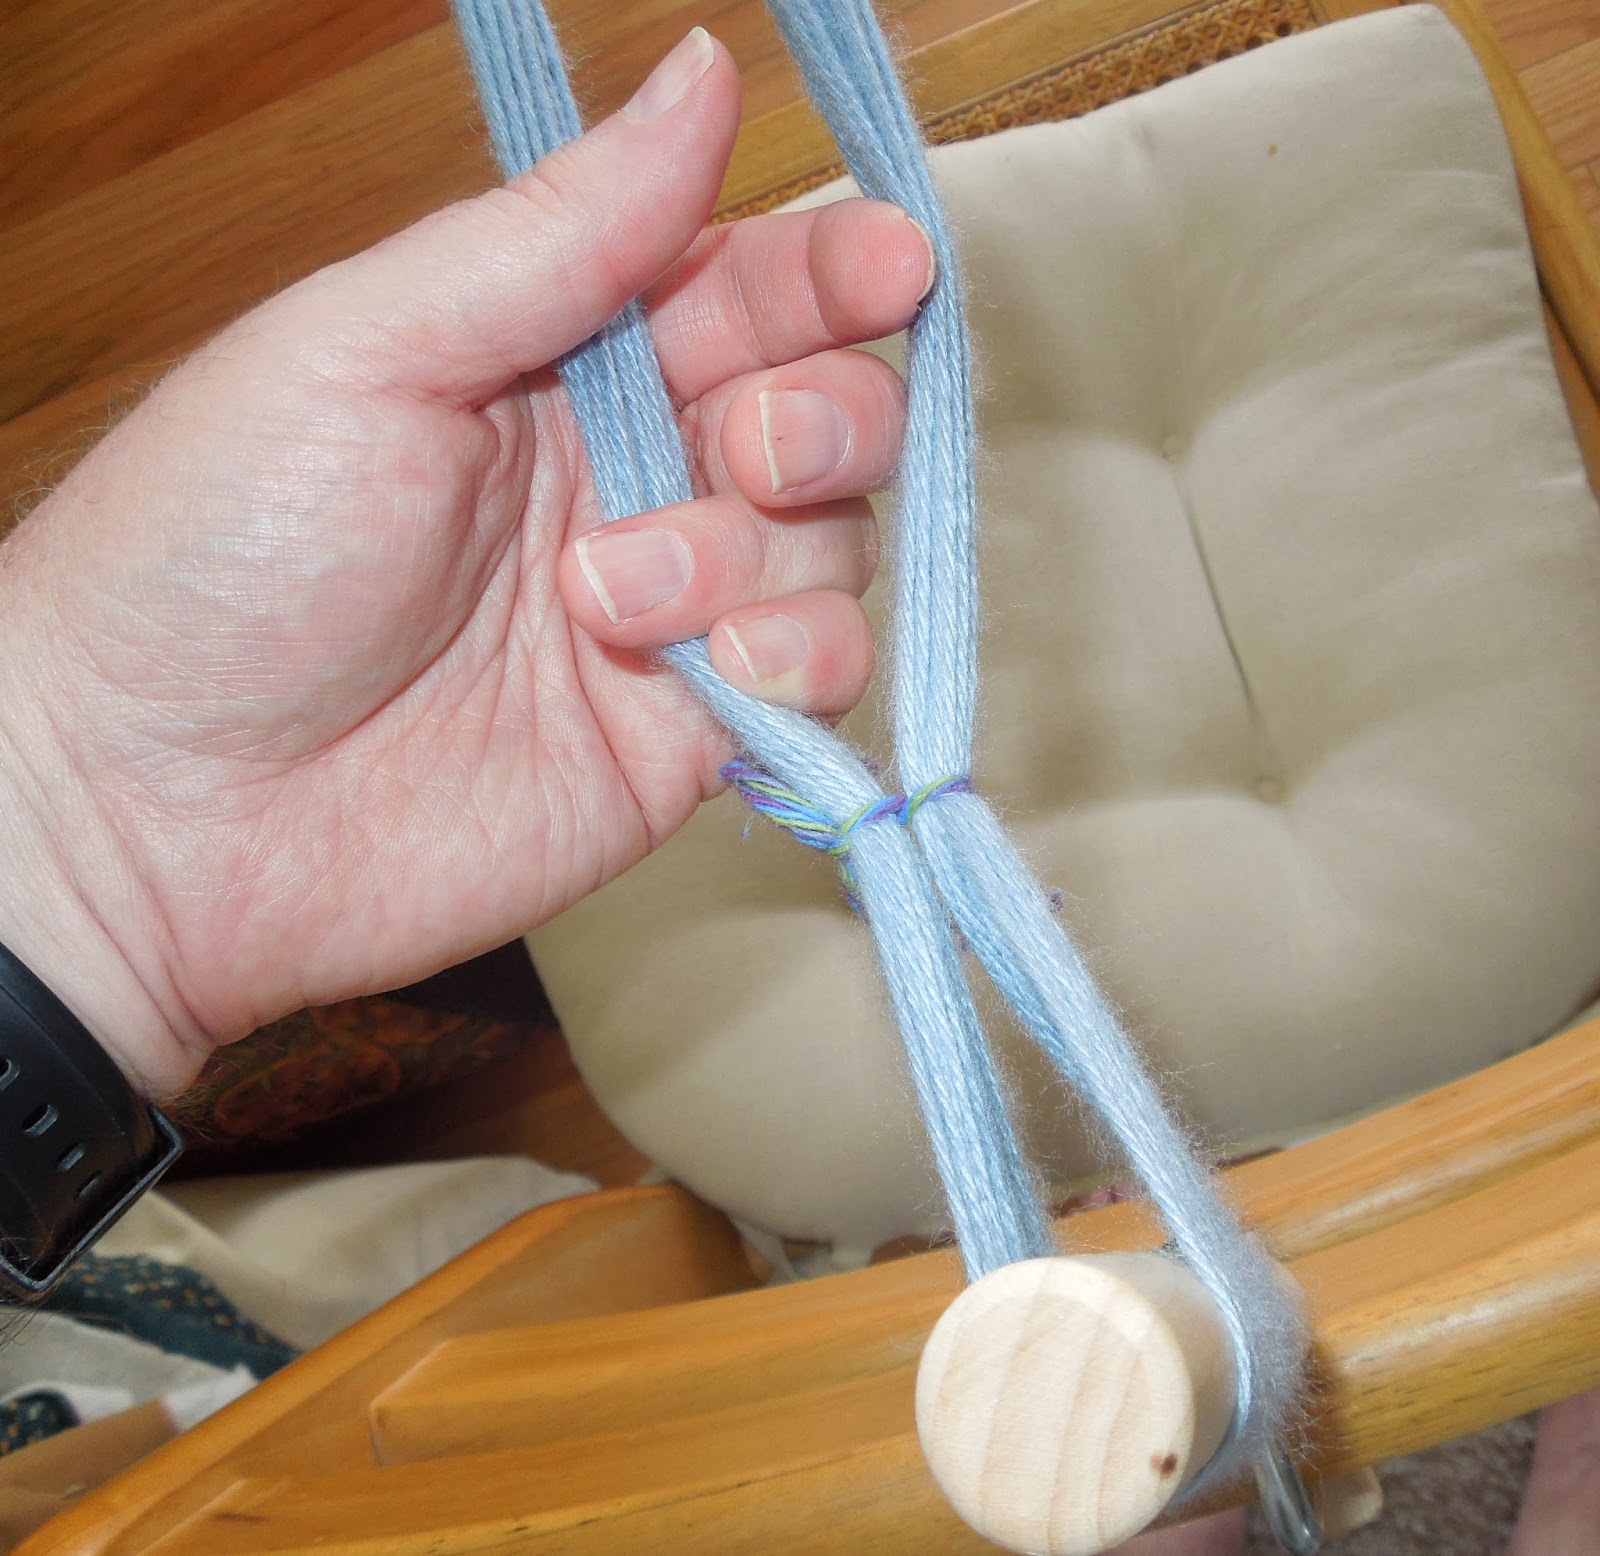
Now is the time to tie a "choke" on the warp bundle near the warping peg. I tie it in a figure eight so that the sides don't mingle and possibly tangle.
 |
| See the warping peg here. |
As I wind it on, I put paper to keep the warp even on the beam. (it prevents tangles and uneven tension) My choice of paper is brown kraft paper.
Here is a picture of the warp on the back beam.

---Tomorrow: the next steps to getting ready -putting threads through the holes; tying onto the front apron rod and adjusting the tension AND - weaving in scrap yarn (and why do I do that?)
 Comments are welcomed. I will reply when possible unless otherwise stated. Foolishly posted "hate speech" comments will be swiftly removed.
5 comments:
Looks like quite a process to get it all set up! About how long does this step take?
Interesting.....but even with such good photos and nice explanation, I still got lost! I guess I am not meant to be a weaver.
Thank you for taking the time to post about the process. I am VERY interested to see your next steps.
Have a great weekend.
Very interested in this process, as you know. It seems involved, but I'm sure it is easier once learned. I'm also sure it goes faster than my box loom once set up. Will be updating mine soon. Much slower progress!
That is very interesting. It seems like it takes a while to get everything ready to weave. You made it look pretty simple....if you knoe how. ;)
Post a Comment